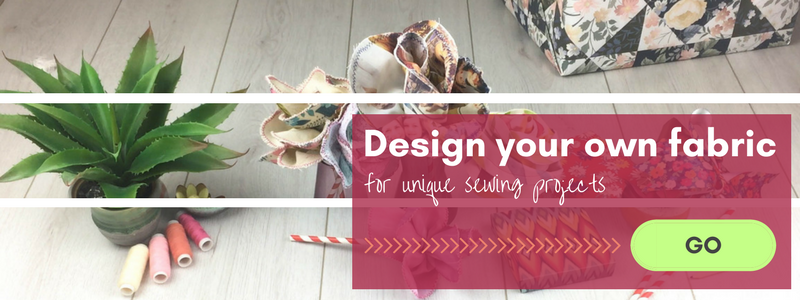
Are you passionate about making your home decor yourself? Have your fabric or custom fabric and materials ready and follow this step-by-step guide. How to make a cushion cover with a zip at home is super easy.
One of the perks of making your own cushion covers is that you can make them any size or shape. That’s great if you need to fill a particular space. It’s easy to make your own cushion covers, and here’s how.
Guide to making a cushion cover with a zip
Step 1 – Cut the fabric
Cut your printed fabric leaving extra material for the hem and allowing for the plumping up of the cushion. If you would like a 40 x 40cm cushion, cut your fabric into two 48 x 48cm squares.
Step 2 – Hemming
Pin a hem of about 1cm along one side of each of the fabric cutouts. This will be used to attach to the zip.
Step 3 – Sew the hemming
Sew the hems in place with a machine. Then fold both hems over once more and machine again to create a double hem.
Step 4 – Sew the cushion cover zip
Open the zip and pin to both sides of the double leaving about 3mm of fabric above the teeth of the zip. This will hide the zip when closed. Sew the zip in place.
Step 5 – Folding
Fold the fabric pieces together so that the printed sides are touching, and the cover appears inside out.
Step 6 – Repeat
Pin the other sides of the cushion cover and sew about 3cm in from the three edges. Maintain the shape you are wanting to create.
Step 7 – Remove access from the cushion cover
Trim off the excess fabric and turn it inside out.
Tadaaa.
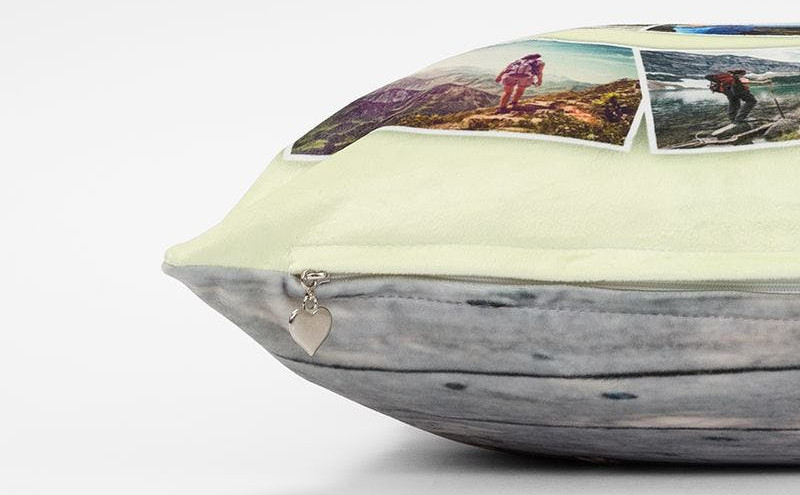
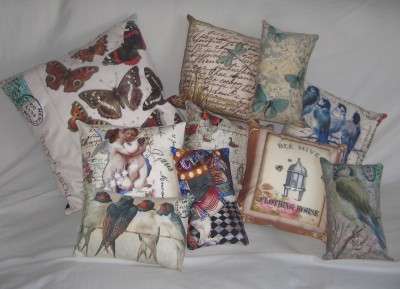
When making your own cushion covers you will have much more variety when it comes to fabrics to choose from compared to pre-made cushions. So, showcase your creative talents with homemade cushions and reap compliments from friends and family!