
Introduction
A personalized photo calendar is not just a functional item; it’s a heartfelt way to celebrate memories throughout the year. With Bags of Love, creating your very own 2026 photo calendar is easier than ever! This blog post will guide you step-by-step through the process of designing a calendar that reflects your personality and style.
Why Personalized Photo Calendars?
Personalized calendars help individuals stay organised and motivated, providing a daily reminder of cherished memories and aspirations. They make thoughtful gifts too, whether for family, friends, or colleagues. Here are a few key benefits:
- Customization: Tailor the images and layout to reflect your style.
- Motivation: Start each month inspired by photographs that make you smile.
- Connection: Celebrate important dates, anniversaries, and family milestones.
Step-by-Step Guide to Creating Your 2026 Photo Calendar
Step 1: Choose the Calendar Type
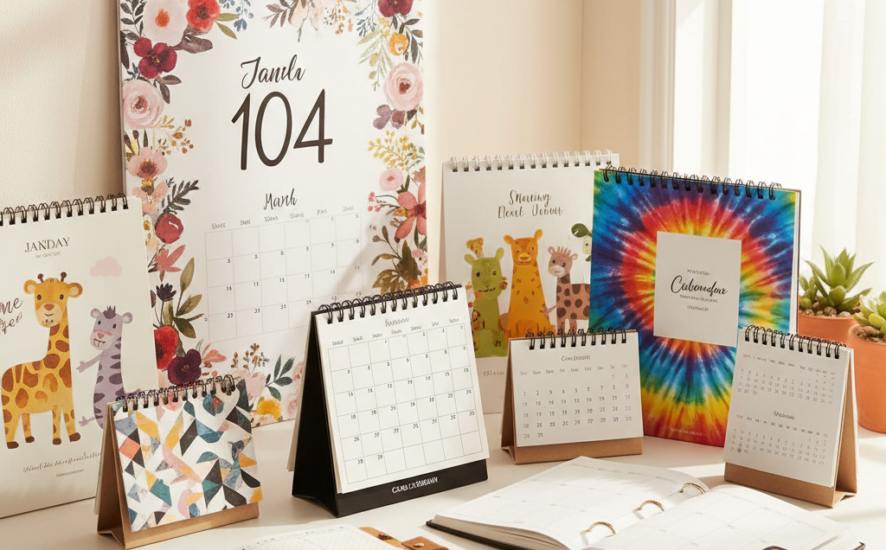
Before you begin, decide on the type of calendar you want: a wall calendar, desk calendar, or a planner-style calendar. Each has its own charm and functionality:
- Wall Calendar: Ideal for displaying stunning visuals in larger sizes.
- Desk Calendar: Perfect for personal or office spaces, easy to view daily.
- Planner Calendar: Great for jotting down notes, reminders, and appointments.
Step 2: Select Your Images
The heart of your personalized calendar lies in the images you choose. Here’s how to select the best ones:
- Family Memories: Use past photos from family gatherings or celebrations.
- Travel Adventures: Capture the essence of your travels with vibrant landscape shots.
- Pets: Showcase those furry friends that bring joy to your life.
- Patterns and Designs: If you prefer something aesthetic, consider pattern-based visuals for each month.

Step 3: Creating a Theme
Creating a cohesive theme for your calendar will elevate its overall appearance. Think about using:
- Seasonal Themes: Match the images with the seasons – snowy scenes for winter, blooming flowers for spring.
- Colour Schemes: Pick a colour palette to align the images harmoniously.
By aligning your colors and designs, you create an engaging visual journey through the year.
Step 4: Design Layout and Format
Once you have your images and theme, it’s time to design the layout.
- Minimalist Layouts: Allow your images to shine by using a simple, clean layout with little distraction.
- Highlight Important Dates: Mark anniversaries, birthdays, and holidays to create a useful as well as beautiful item.
Step 5: Final Touches and Customisation
As you approach completion, consider the following:
- Text and Captions: Add memorable quotes or captions that align with the photographs.
- Proofread: Double-check all the dates and details to ensure accuracy.
Finalise your design before sending it to Bags of Love for print. Their print-on-demand service ensures your calendar is made sustainably, with care for the environment.
Inspiration for Your Calendar Design
As you embark on creating your personalised calendar, consider these design inspirations:
- Family Memories: Revive precious moments with snapshots of loved ones.
- Travel Photos: Evoke wanderlust with scenic views from your travels.
- Pet Portraits: Feature your beloved pets in playful poses.
- Pattern-Based Designs: Use fun textures or motifs that bring life to each month.
Conclusion
A personalized photo calendar is a delightful way to celebrate every day of the year while keeping organised. By following the steps outlined above and infusing your design with your unique style, you can create a calendar that’s both functional and heartfelt. Start your creative journey now with Bags of Love, and take advantage of their printing services. Here’s a special offer: get 10% off your first order! Let’s make 2026 memorable, one month at a time.